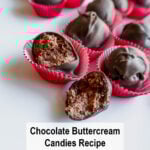
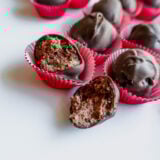
Rich, creamy, and wrapped in a smooth chocolate shell, chocolate buttercream candies are a decadent homemade candy perfect for any occasion. Whether you’re celebrating Valentine’s Day, Christmas or simply indulging your sweet tooth, these delightful treats are easy to make and impossible to resist. With a luscious buttercream filling and a silky chocolate coating, they’re an irresistible combination of flavors and textures.
The Sweet Science of Chocolate Buttercreams
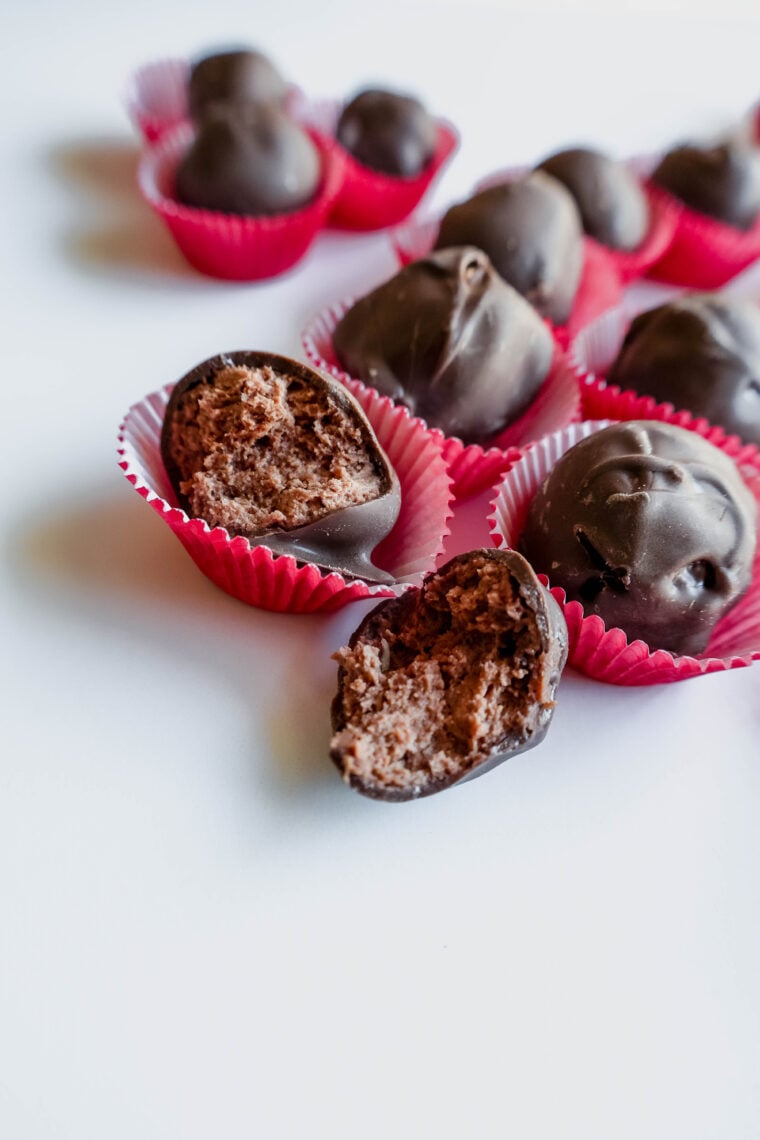
Creating perfect chocolate buttercreams require balancing temperatures and textures. The buttercream filling is an emulsion of butter, powdered sugar, and melted chocolate, which forms a creamy, airy base. Heavy cream enhances the smooth texture while stabilizing the mixture. Once chilled, the filling becomes firm enough to shape but retains a melt-in-your-mouth softness.
The outer chocolate coating is all about precision. You retain its glossy finish and smooth texture by gently melting compound milk chocolate at low heat. Compound chocolate is a great choice for its ease of melting and set, while milk chocolate adds a rich, sweet contrast to the buttercream interior.
Chocolate Buttercream Candies Ingredient List
Semi-Sweet Chocolate Chips
The foundation for the buttercream’s chocolate flavor. Choose high-quality chips for the best taste.
Heavy Whipping Cream
Adds richness and helps the chocolate melt into a smooth, creamy consistency.
Unsalted Butter
Forms the base of the buttercream, adding flavor and structure.
Powdered Sugar
Sweetens and stabilizes the filling while giving it a smooth texture.
Milk Chocolate Compound
An ideal coating choice for its ease of use and glossy finish. Swap with dark or white chocolate for variety.
How to Make Homemade Chocolate Buttercream Candies (Step by step)
Chocolate Buttercream
- Melt the chocolate chips and cream. Combine the semi-sweet chocolate chips and heavy whipping cream in a microwave-safe bowl. Microwave for 30 seconds, stir, and microwave for another 30 seconds. Stir until the chocolate is fully melted and smooth.
- Cream butter and sugar. In a stand mixer fitted with the paddle attachment, cream the unsalted butter and powdered sugar until combined. Slowly pour in the melted chocolate mixture while the mixer runs low speed. Once combined, turn the mixer on high speed and beat for 2 minutes until the buttercream is light in color and texture.
- Scoop and chill. Using a small cookie scoop, portion the buttercream onto a parchment-lined baking sheet. Freeze for 15-30 minutes, or until firm enough to handle.
Candy Coating
- Shape the buttercream balls. Remove the chilled buttercream from the freezer and roll each scoop into a smooth ball between your hands. The warmth of your hands will help shape the balls evenly.
- Prepare the chocolate coating. Melt the milk chocolate compound in the microwave in 30-second intervals, stirring in between. Continue until the chocolate is fully melted and smooth.
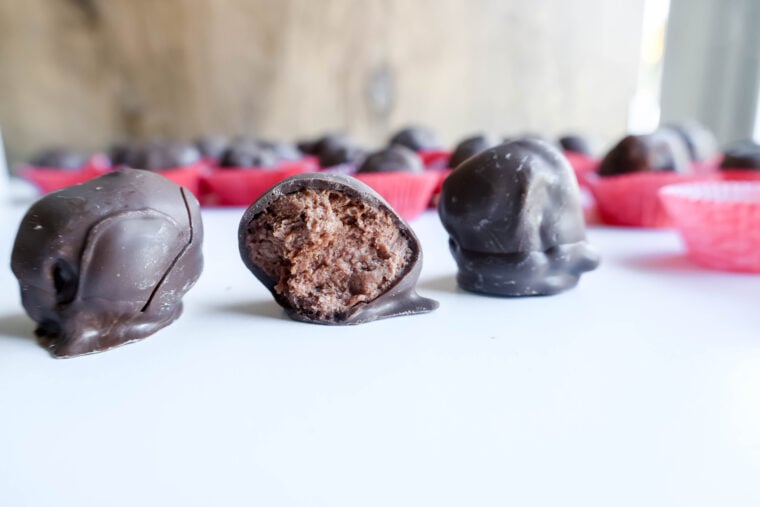
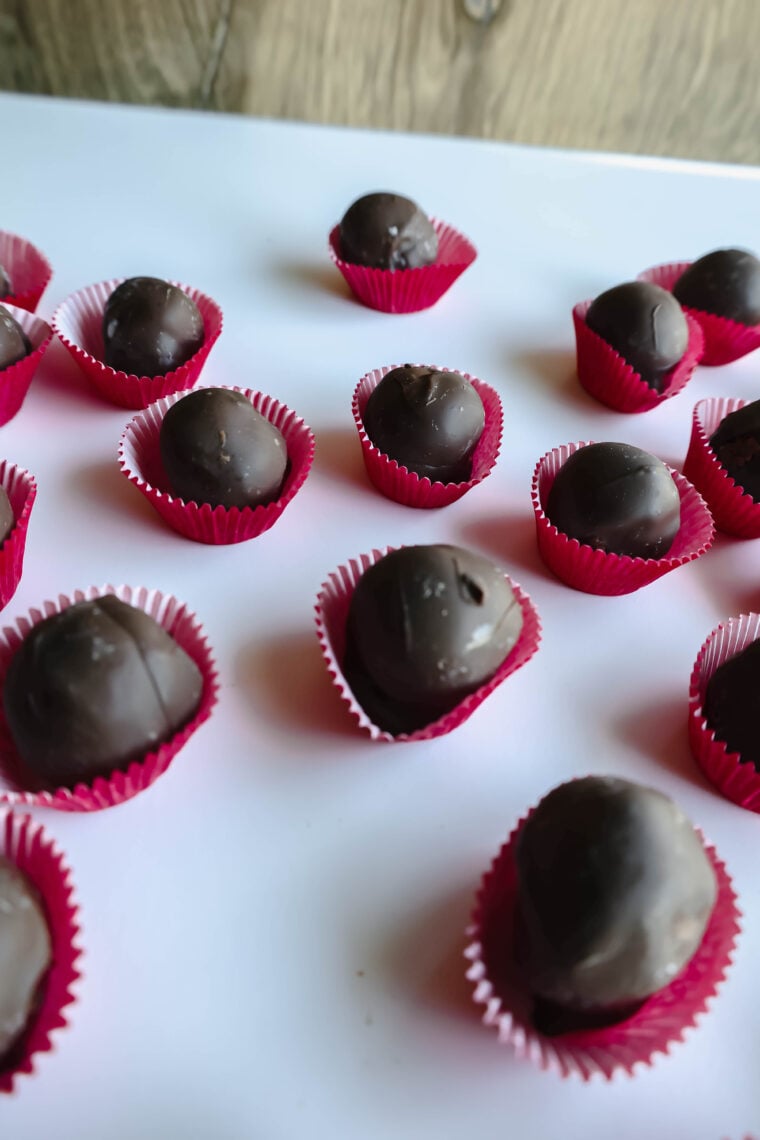
- Dip the buttercreams. Drop each buttercream ball into the melted chocolate, using a slotted spoon to coat it evenly. Let any excess chocolate drip off before placing the coated ball back onto the parchment-lined sheet.
- Let the chocolate set. Allow the buttercreams to set at room temperature or in the fridge. Once the chocolate coating is firm, your buttercreams are ready to enjoy!
Tips for the Perfect Buttercream Candies
- Temperature Control – Ensure all ingredients are at the right temperature. Room-temperature butter and slightly cooled melted chocolate are key to a smooth buttercream filling.
- Choose the Right Chocolate – For a glossy, professional finish, opt for compound chocolate or correctly temper couverture chocolate.
- Don’t Skip Chilling – Chilling the buttercream before shaping and coating ensures easy handling and a clean, professional look.
How to Store Homemade Chocolate Buttercream Candies
Room Temperature: Keep buttercreams in an airtight container for up to 3 days in a cool, dry place.
Refrigeration: Store in the fridge for up to 2 weeks. Bring to room temperature before serving for the best texture.
Freezing: Buttercream centers can be frozen for up to 3 months. Thaw slightly before coating them in chocolate.
Making Candies Ahead of Time
Buttercreams are an ideal make-ahead treat. Prepare the buttercream filling and freeze the shaped balls until you are ready to coat them in chocolate. This flexibility makes them perfect for holiday prep or gifting on a busy schedule.
Buttercreams freeze beautifully. The filled centers can be prepared days in advance and stored in the freezer until you’re ready to coat them, making this recipe ideal for planning ahead.
Recommended Products

Homemade Buttercream Candies Troubleshooting
Why does my chocolate coating crack?
Chocolate coating can crack if the buttercream balls are too cold or if the chocolate is too hot. Let the buttercream balls sit at room temperature for a minute before dipping, and ensure your melted chocolate is warm, not hot.
Can I use white or dark chocolate for coating?
Absolutely! White chocolate adds a creamy sweetness, while dark chocolate provides a richer, more intense flavor. Both are excellent alternatives to milk chocolate.
How do I keep my buttercream filling smooth?
Start with room-temperature butter for easier creaming and ensure the melted chocolate is slightly cooled before mixing it with the butter and powdered sugar. This prevents the butter from melting and separating.
Why You Need to Make Homemade Chocolate Buttercream Candies
These chocolate buttercreams bring together the elegance of homemade confections and the simplicity of a home kitchen. Perfect for gifting, sharing, or savoring yourself, they’re a versatile treat that fits any occasion. The buttercream filling is rich and velvety, complemented by the crisp snap of the chocolate shell. Plus, this recipe is easy enough for beginners yet satisfying enough for seasoned candy makers.
Chocolate buttercreams are a delightful blend of rich chocolate and creamy filling, making them the ultimate homemade candy. Whether gifting, sharing, or savoring them solo, these treats are bound to be a hit. Happy candy-making!
If you are gifting these candies, consider making various candy boxes with a few of my other candy recipes, like my candy caramel and English toffee.

Homemade Chocolate Buttercream Candies
Ingredients
Buttercream
- 11.5 ounces semi sweet chocolate chips 1 bag
- 1/3 cup heavy whipping cream
- 2 cups unsalted butter
- 6 cups powdered sugar
Chocolate
- 2 cups milk chocolate **compound
Instructions
Buttercream
- Combine 11.5 semi-sweet chocolate chips and 1/3 cup heavy whipping cream in a microwave-safe bowl. Microwave for 30 seconds, stir, then microwave for another 30 seconds. Stir until the chocolate comes together & is fully melted
- In a standing mixer with the paddle attachment, combine the 2 cups of room temperature unsalted butter and 6 cups of powdered sugar, mix on low speed until combined. Pour the warm chocolate mixture into the mixer at low speed. Mix until combined.
- Mix on medium high speed for 2 minutes until the frosting is lighter in color and texture
Assemble
- Scoop the frosting out onto a cookie sheet lined with parchment paper with a tiny cookie scoop.
- Place in the freezer for 15-30 minutes
- Melt the compound chocolate in the microwave slowly, 30 seconds at a time, stirring in between.
- Remove the buttercream from the freezer, roll each ball in between your hands to smooth them out.
- Drop each one into the melted chocolate, remove them with a slotted spoon or fork and let as much excess chocolate melt off as possible. I like to gently tap the utensil against the bowl's side to speed up the dripping chocolate.
- Place the ball back onto the parchment paper and let it set.
- As soon as the chocolate is set, they are ready to enjoy!
Nutrition
Have you tried this recipe?
I’d love to see it! Follow @_mrs.madi_ on Instagram and tag your photos with #mrsmadi.