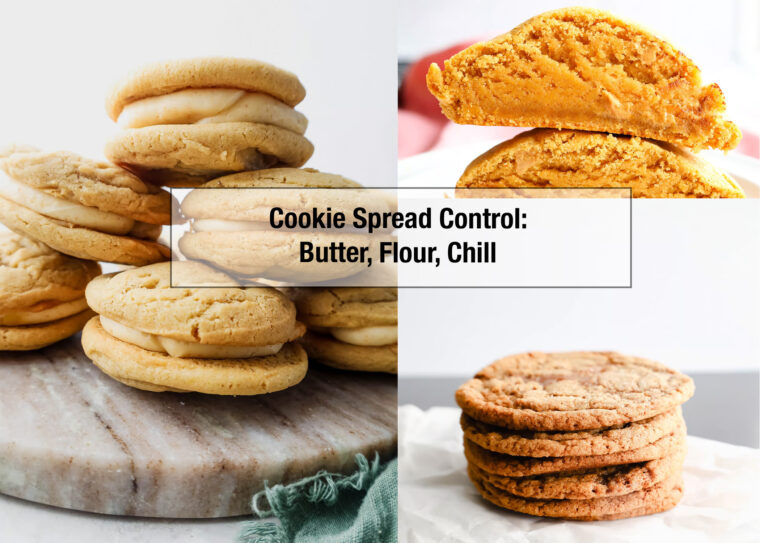
Butter temperature, flour choice, and chill time decide cookie spread spread, chew, and edge crisp. baking moments are more disappointing than opening the oven to find your cookies have melted into one giant sheet – or worse, stayed stubbornly round and doughy. Cookie spread can feel unpredictable, but it’s actually governed by three controllable factors: butter temperature, flour type, and chill time. Master those, and you become a true cookie detective – able to dial in thick, chewy centers, crisp edges, or classic flat cookies on purpose.
This guide breaks down why cookies spread, how to fix common failures, and how chilled vs. unchilled doughs intentionally produce different textures. Once you understand the balance, cookie spread stops being a gamble and starts becoming a design choice.
The Chemistry Behind Cookie Spread
Cookies spread when fat melts faster than the structure sets. Butter liquefies, sugar dissolves, and the dough relaxes outward before proteins and starches firm up in the oven. The rate of that melt – and how much structure resists it – determines whether your cookies hold their shape or flow like lava.
- Butter temperature controls how fast fat melts.
- Flour type controls how much structure forms.
- Chill time controls when the spread begins
Get all three working together, and you land in the sweet spot of perfect cookie balance.

Butter Temperature: The Biggest Spread Lever
Butter is the primary driver of spread. When it’s too warm, cookies flatten quickly and bake up thin with greasy, overly crisp edges. When it’s too cold, the dough doesn’t relax enough, and cookies stay domed or dense.
- Cool butter (67-70 degrees F) creates a moderate spread, ideal for classic chocolate chip cookies with a chewy center.
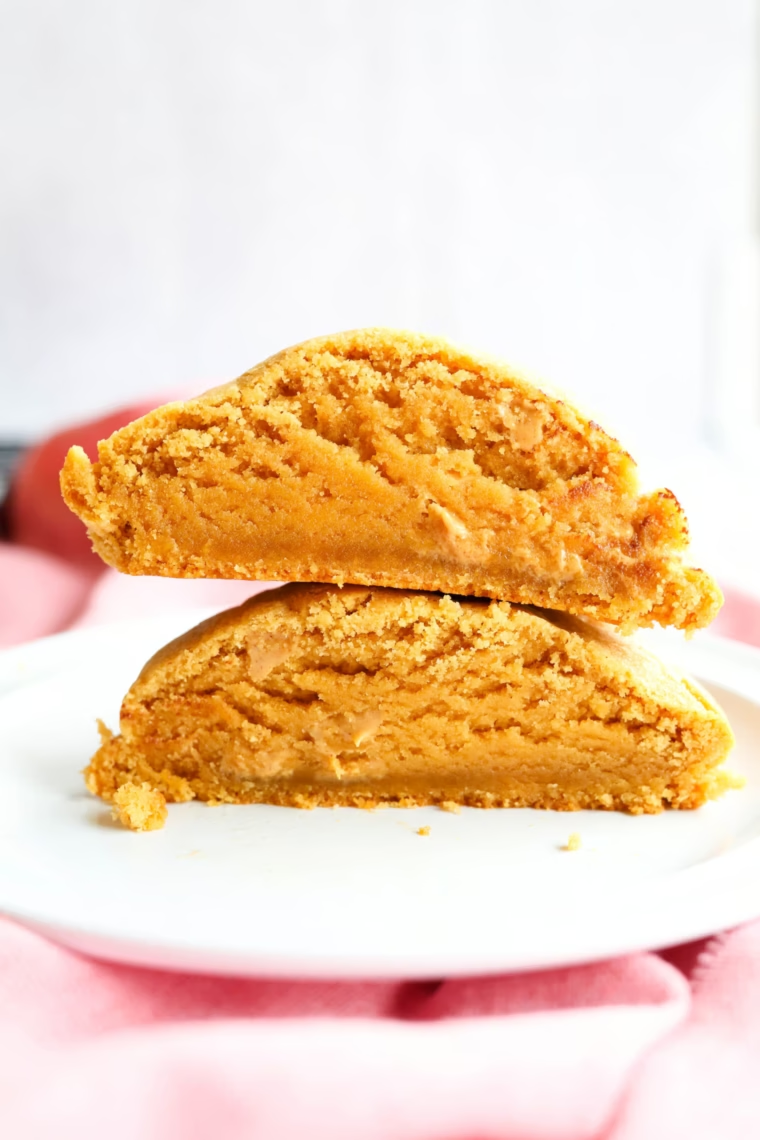
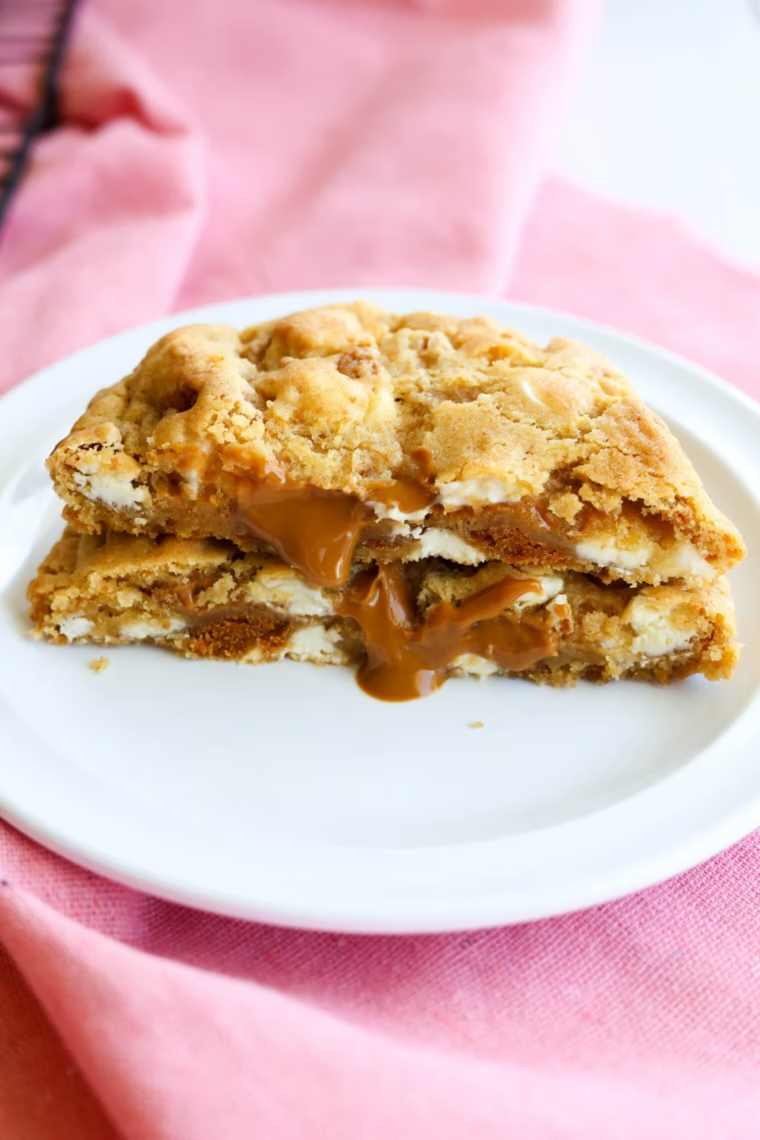
- Melted butter creates maximum spread, thinner cookies, and crispier edges- great when that’s intentional, disastrous when it’s not (example: my irresistible browned butter cookie sandwiches)
If your cookies consistently turn into flat cookies even when chilled, the common culprit is starting with butter that was already too warm.
Flour Choice: Structure vs. Tenderness
Flour decides how much the dough can fight gravity once the butter melts.
- Bread flour (higher protein) forms a stronger gluten network, reducing spread and adding chew. It’s a powerful tool for thicker cookies or when butter runs soft.
- All-purpose flour gives a balanced spread and tenderness – the default for most cookie recipes. A happy medium flour.
- Cake flour spreads the most and produces very soft, delicate cookies that can easily over-flatten.
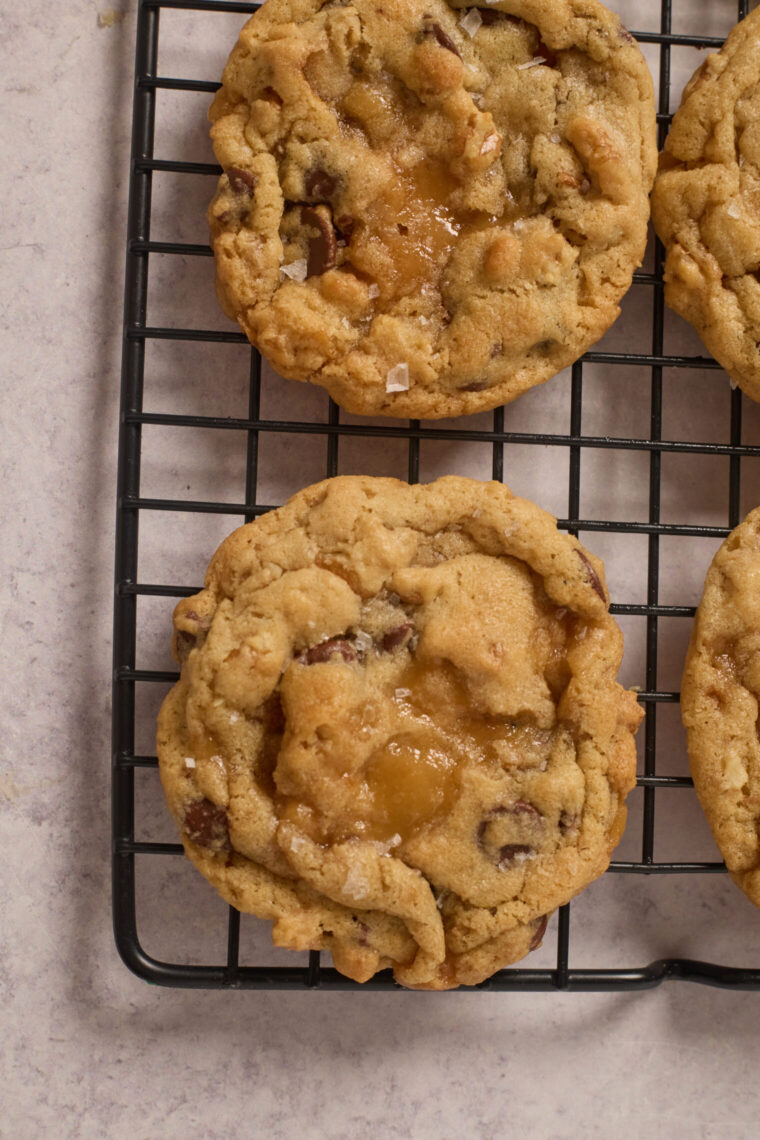
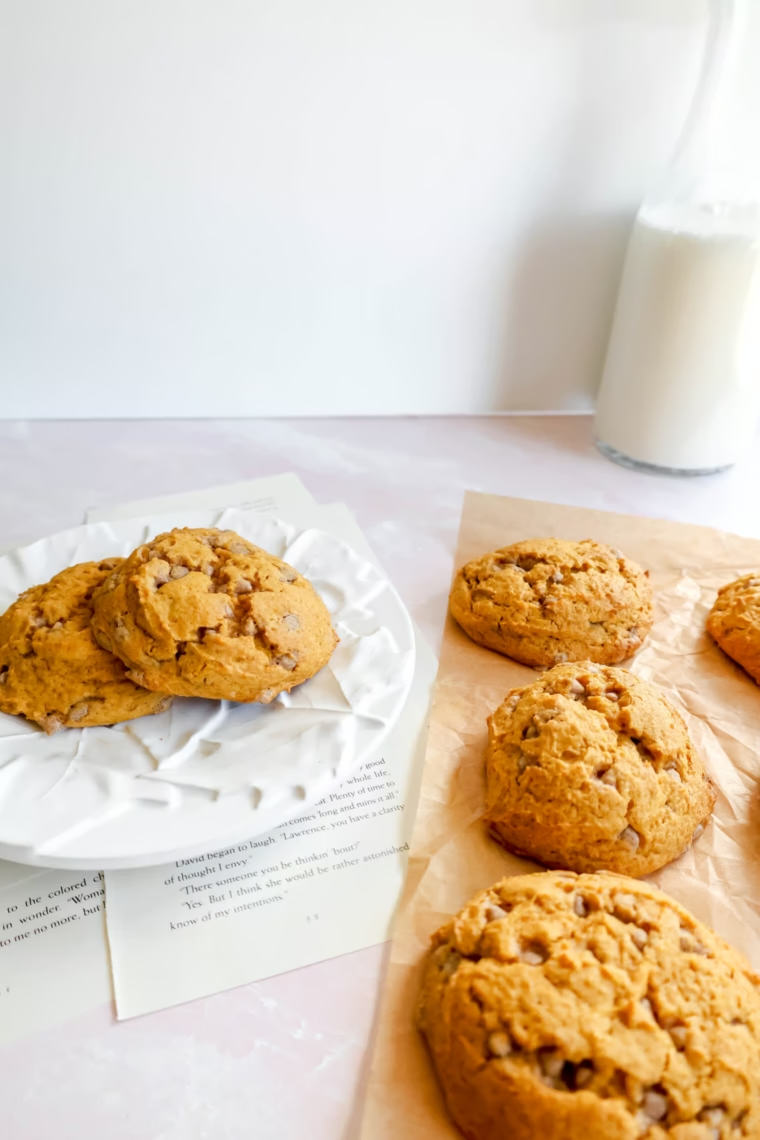
This is why some cookies intentionally use part bread flour for structure (like my bakery-style chocolate chip cookies). You’ll see this clearly if you compare an unchilled cookie recipe (designed to spread, like my pumpkin cinnamon chip cookies) with a chilled cookie built for height, like my pecan cookies with homemade toffee.
Chill Time: The Texture Governor
Chilling controls when spread happens – not whether it happens.
- No chill = faster melt, wider, thinner cookies (example: my homemade Oreos)
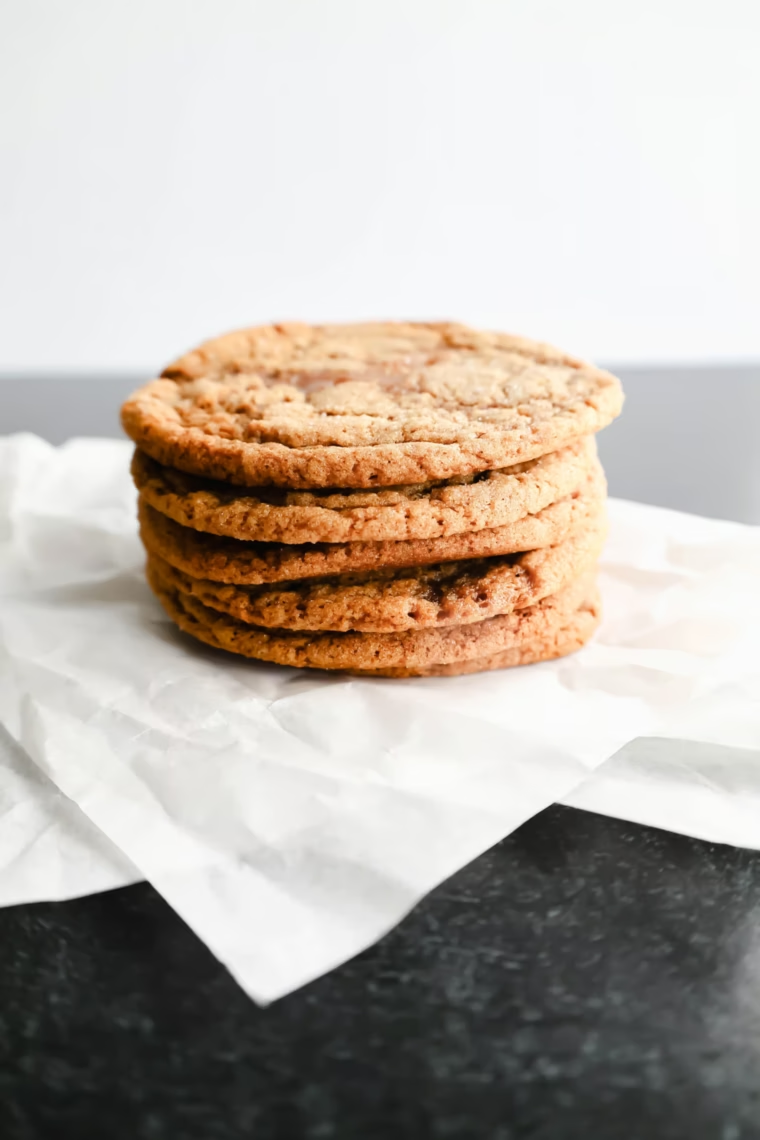
- 30-60 minutes chilled (scooped) = slower spread, thicker cookies with defined edges (example: my classic chocolate chip cookie)
- Long chill (overnight) = deeper flavor, tighter structure, less spread (example: my molasses cookies)
Chilling doesn’t fix every dough, but it gives the flour time to hydrate and the butter time to firm up. If you want thinner cookies without adding more flour, chilling is the best way.
This is why recipes designed not to be chilled tend to use different fat ratios or flour blends than recipes that require chilling.
What to Watch (Good vs. Bad Outcomes)
A well-controlled cookie shows clear cues:
- Edges are set and lightly golden
- Centers look soft but not raw
- Thickness matches your goal – not a surprise
Warming signs:
- Cookies run together – butter too warm or no chill
- Ball-shaped cookies – too much flour or cold dough
- Greasy bottoms – over-melted butter or dark sheet pan ( I am always preaching that you NEED a light-metal colored cookie sheet).
Common Problems (and Why They Happen)
Uneven spread in the same batch often comes from inconsistent scoop size or dough warming on the counter. Greasy, lacey edges usually mean too much melted butter or high sugar relative to flour. Cookies that don’t spread at all often have excess flour, cold butter, or too much protein. High humidity, inaccurate measurements, or skipping a test bake can exaggerate all of these issues – especially with sugar cookies and chocolate chip cookies.
| Problem | Fix |
|---|---|
| Cookies turn into puddles. | Chill longer, switch 1/4-1/3 of the flour to bread flour, and shorten bake time by 1-2 minutes to keep centers soft. |
| Cookies don’t spread at all. | Let the dough sit at room temperature for 5-10 minutes and flatten slightly before baking. |
Smart Tips for Consistent Results
- Bake one test cookie before committing the whole tray- it tells you everything.
- Light vs. dark sheet pans change browning; dark pans increase spread and crisping.
- Use parchment or silicone mats, not greased sheets (for consistent heat transfer & less mess).
- Weigh flour with a digital scale for accurate measurements.
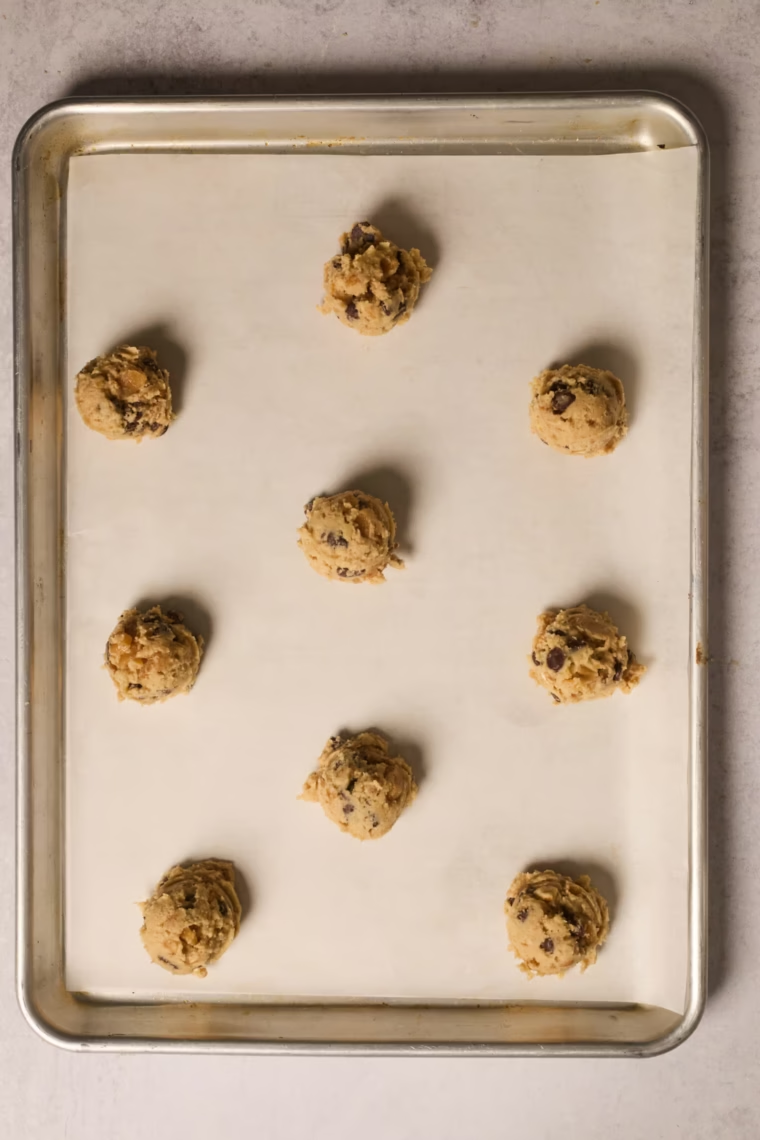
- Scoop first, then chill for even baking and consistent thickness (plus it’s easier to scoop the dough before it chills and hardens).
FAQ
Why are my cookies gritty?
Sugar didn’t dissolve fully. Cream butter and sugar longer, or use finer sugar.
Why are the bottoms greasy?
Butter was too warm or fully melted. Start cooler and chill longer.
Can I skip chilling?
Yes- but expect more spread and thinner cookies. Recipes designed for no-chill account for this.
Should I add more flour to stop spread?
Only as a last resort. Chill time or flour type is ussually a better fix. Adding flour can make your cookie bland.
The Perfect Cookie Spread
Perfect cookie spread isn’t luck – it’s a delicate balance of technique. Butter temperature sets tthe pace, flour provides the brakes, and chill time decides when everything moves. Once you understand how those three interact, you can bake exactly the cookie you want: thick and chewy, crisp and flat, or somewher perfectly in between.
So the next tiime a batch surprises you, don’t toss the dough – adjust it. Chill it. Change the flour. Test one cookie. With a little attention, you’ll go from frustrated baker to true cookie whisperer – and every batch will feel intentional, not accidental.