
Nothing says summer quite like a flaky, golden brown mixed berry galette filled with sweet-tart berries. This rustic, free-form pie is the perfect dessert when you want something beautiful but fuss-free. Made with simple ingredients like cold butter, lemon juice, and your favorite mix of berries, it comes together in a way that feels both elegant and homemade. Whether you’re planning a backyard BBQ, attending a picnic, or just looking for a way to use your farmer’s market haul, this galette recipe brings seasonal joy to the table. And yes- we’ll show you how to get that buttery crust and jammy center just right.
This dessert is a delightful mix between rustic berry tart, a berry crostata, and free-form pie. With a buttery, flaky crust and vibrant berry filling, it’s an easy way to impress with a homemade fruit galette. Use your rolling pin on a lightly floured surface, fold in the edges, and serve with a scoop of vanilla ice cream for the ultimate summer berry dessert. Think of it as your shortcut to pie minus the stress, plus all the cozy charm.
The Chemistry of Mixed Berry Galette
The galette crust is similar to pie dough, but easier to handle thanks to its rustic form. Cold butter is key-it creates steam pockets in the dough that puff and flake as they bake. A touch of lemon juice in the filling brings balance to the sweetness of the berries and helps preserve their color. Cornstarch acts as a thickener to avoid a runny mess when the berries release juice during baking. Brushing the edges with egg wash and sprinkling with turbinado sugar gives the crust that crisp, golden finish. And letting it cool helps set for cleaner slices.

Recipe Troubleshooting
If your crust turns soggy, it’s likely from excess berry juice- try using a slotted spoon to transfer the filling and avoid overloading it.
Too runny? You may need more cornstarch or longer rest time post bake.
Struggling with dough that cracks? Let it sit at room temperature for 5-10 minutes before rolling.
If the galette loses shape in the oven, always fold with care, leaving a 2 to 3 inch border and crimping as needed to seal the edge.
Can I use frozen berries? Yes, but thaw and drain them first to reduce excess moisture.
Want to prep ahead? You can make and chill the dough up to 3 days in advance or freeze it for later.
If the crust was too chewy or tough, that usually means the dough was overworked or too warm when baked.
If the filling leaked and burned, it is often due to overfilling or tearing the dough base.
Dough cracking when rolling? Try adding a teaspoon of more ice water next time.
Too sweet or not sweet enough? Adjust the sugar based on the tartness of your berries.
If the galette lost shape, check that the dough had time to rest in the fridge before rolling out.

Serving Suggestions
Celebrate berry season with this easy mixed berry galette, perfect for parties or summer picnic desserts. It’s a favorite for backyard BBQs, trending on TikTok for its gorgeous simplicity and appeal. Inspired by farmer’s market recipes, it’s great with any in-season berries like strawberries, blueberries, and raspberries. Top it with whipped cream or serve it at brunch for a light summer fruit pastry that feels as good as it tastes.
Serve your galette warm with a generous scoop of vanilla bean ice cream or swirl of fresh whipped cream. For presentation, garnish with mint leaves, lemon zest, a light dusting of powdered sugar, or a drizzle of maple syrup or berry coulis. A glass of rośe or sparkling lemonade pairs beautifully. Slice into wedges and present on a rustic wooden board for a charming vibe or add edible flowers for an elegant event.
Storage Tips
Store the galette loosely covered at room temperature for up to one day, or refrigerate in an airtight container for up to 3 days.
Freezer- Wrap the unbaked galettes in plastic wrap and foil, then freeze for up to 2 months. Bake from frozen at 375℉, adding 5-10 minutes to the cook time.
Making ahead- Make the dough 2-3 days in advance and keep it chilled. You can also pre-mix the berry filling and store it in the fridge.

Recommended Products
Final Thoughts
A Mixed Berry Galette is proof that simple can be spectacular. With its flaky crust and bursting berry center, it’s everything we love about summer-on a plate. Whether you’re baking for a gathering or just for fun, this is one of those recipes that always feels special. So grab your favorite berries, roll out that dough, and treat yourself to the delicious ease of this rustic dessert. Happy baking!


Rustic Mixed Berry Galette with Flaky Butter Crust
Ingredients
Crust
- 2 1/2 cups all-purpose Flour
- 1 cup unsalted Butter
- 1 tsp fine sea salt
- 1 tsp granulated sugar
- 8 tbsp ice water
- 1 tsp milk
- 1 egg white
Filling
- 3 cups fresh mixed berries
- 1 cup granulated sugar
- 1 tbsp cornstarch
- 1 tbsp lemon juice
- 1/4 cup turbinado sugar
Instructions
Crust
- Mix 2 1/2 cups all-purpose flour, 1 tsp granulated sugar, 1 tsp fine sea salt in a bowl. Cut in 1 cup unsalted cold butter. Break up the butter and slowly add 8 tbsp cold water. Divide into two discs, wrap in plastic wrap, and place in the fridge for 30 minutes.
Filling
- Preheat the oven to 375 degrees
- In a large bowl, mix 3 cups fresh mixed berries, 1 cup granulated sugar, 1 tbsp cornstarch, and 1 tbsp lemon juice. Stir until the fruit is evenly coated and the ingredients are well combined.
- Remove one disc of dough from the fridge and roll it out into a large circle. Place it on a cookie sheet lined with a parchment paper.
- Pour the filling in the center and fold up the edges of the crust on top of the filling. Leave a large circle of exposed filling in the center of the galette.
- Paint the egg wash on the edge crust (1 egg white whisked with 1 tsp milk) and sprinkle the outer edge crust of the galette with the turbinado sugar.
- Place in the preheated oven and bake for 30 minutes.
- Remove and allow it to cool for 30 minutes to an hour before slicing.
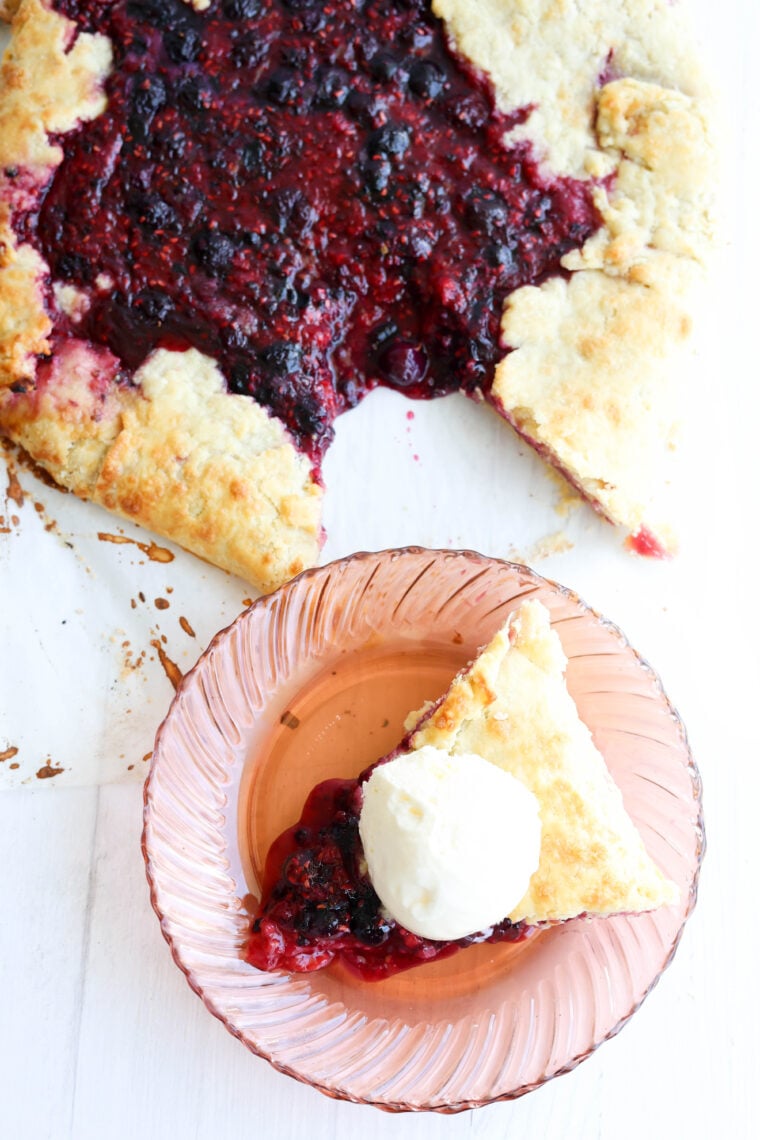
- Serve with a large scoop of vanilla bean ice cream.
Nutrition
Have you tried this recipe?
I’d love to see it! Follow @_mrs.madi_ on Instagram and tag your photos with #mrsmadi.


