There’s nothing quite like that first bite of perfectly crispy skin – the audible crackle, the glistening golden surface, the contrast against juicy meat underneath. Whether it’s your Thanksgiving turkey, Sunday roast chicken, or a sheet of pork belly, mastering the art of crisping skin can turn a good dish into an unforgettable one. The best news? Achieving extra-crispy skin isn’t magic—it’s science, patience, and a few simple steps. From using high heat and paper towels to the correct oven temperature, here’s everything you need to know to make your skin shatteringly crisp and flavorful.
The Chemistry Behind Crispy Skin
Crispy skin happens when you remove two enemies: moisture and fat that hasn’t fully rendered. The skin of a turkey or chicken is made of protein, collagen, and fat. When the surface stays wet—leftover water, brine, or condensation—this moisture turns into steam during cooking. Steam softens the surface instead of letting it brown.
The trick is to get the skin as dry as possible. Pat it thoroughly with paper towels, then let it rest, uncovered, in the fridge for 12-24 hours to allow air to draw out excess moisture naturally—a process known as “air-drying.” When heat finally hits the dry surface, fat renders out from beneath the skin, bubbles rise to the surface, and that beautiful golden-brown blistering begins.
A high oven temperature—usually between 400 degrees F and 450 degrees F (205-232 degrees C)—is the sweet spot. Too low, and you’ll melt fat without crisping the skin; too high, and it burns before the fat finishes rendering. The goal is balance: heat strong enough to keep the meat below a safe internal temperature of 165 degrees F (74 degrees C).
Common Problems and Why They Happen
If your skin always turns out rubbery instead of crisp, it’s likely trapped moisture. Maybe you didn’t pat it dry, or perhaps you covered it with foil too early. Even overfilling the pan can cause steaming rather than browning. The cure? Space- at least an inch or two between pieces so hot air can circulate freely.
Uneven browning or burning usually points to uneven heat. Ovens have hot spots, so rotate your pan halfway through roasting. If you’re using a wire rack over a rimmed baking sheet, move it to a higher rack for stronger top heat.
And if your flavor feels flat, it’s often because seasoning never penetrated beneath the skin. That’s where dry brining—salting the skin early and letting it rest in the fridge—works wonders. The salt pulls moisture out, then redistributes it back into the meat, seasoning it from within while drying the surface for a superior crisp.
If you pull your bird from the oven and the skin is still pale, don’t worry. Move it to a higher rack or turn on convection for the remainder of the cooking time. You can even brush on a bit of melted butter or olive oil and return it to high heat to finish crisping.
If the skin burns before the meat reaches a safe temperature, tent it loosely with aluminum foil to protect it while the inside cooks through.
And if you’re dealing with uneven crispiness—one side crispier than the other—it’s likely an oven hot spot. Rotate your roasting pan halfway through, keeping the skin-side up to expose it to air and direct heat.
Can I get crispy skin at lower temps? Yes! Extend the cooking time, then finish at high heat for the last 10 minutes to render the fat fully.
Why does my skin go soft after cooking? Moisture reabsorbs during resting. Let your bird rest on a rack instead of a flat surface so steam can escape.
Can I use baking powder? Absolutely – a light dusting helps dry the skin’s surface even more, especially on wings and smaller cuts.
Crispy Skin Playbook
- Prep: Pat dry and salt early. A dry brine with kosher salt is the best way to ensure juicy meat and crackly skin.
- Pan & Rack: Place your bird on a wire rack over a rimmed baking sheet so air can circulate evenly.
- Heat: Roast at 400-450 degrees F (205-232 degrees C); if your oven has a convection setting, use it!
- Finish: In the last 3-5 minutes, raise the heat or give a quick broiler blast for that final golden touch.
What to Watch For
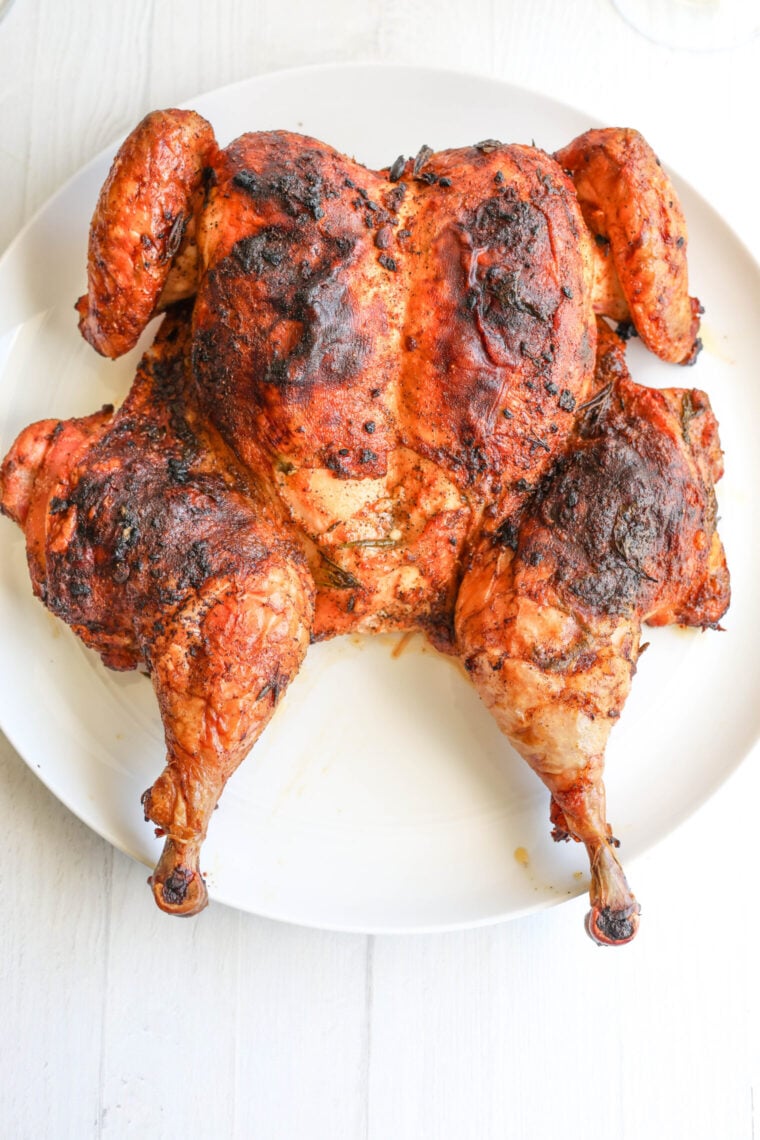
You’ll know your skin is crisping beautifully when you see tiny blisters forming and hear a faint crackle. The fat beneath the skin will start to render visibly, and the surface will shift from pale to a deep, even golden brown. Gently tap it with a spoon – it should sound crisp, not rubbery.
Smart Tips from the Kitchen
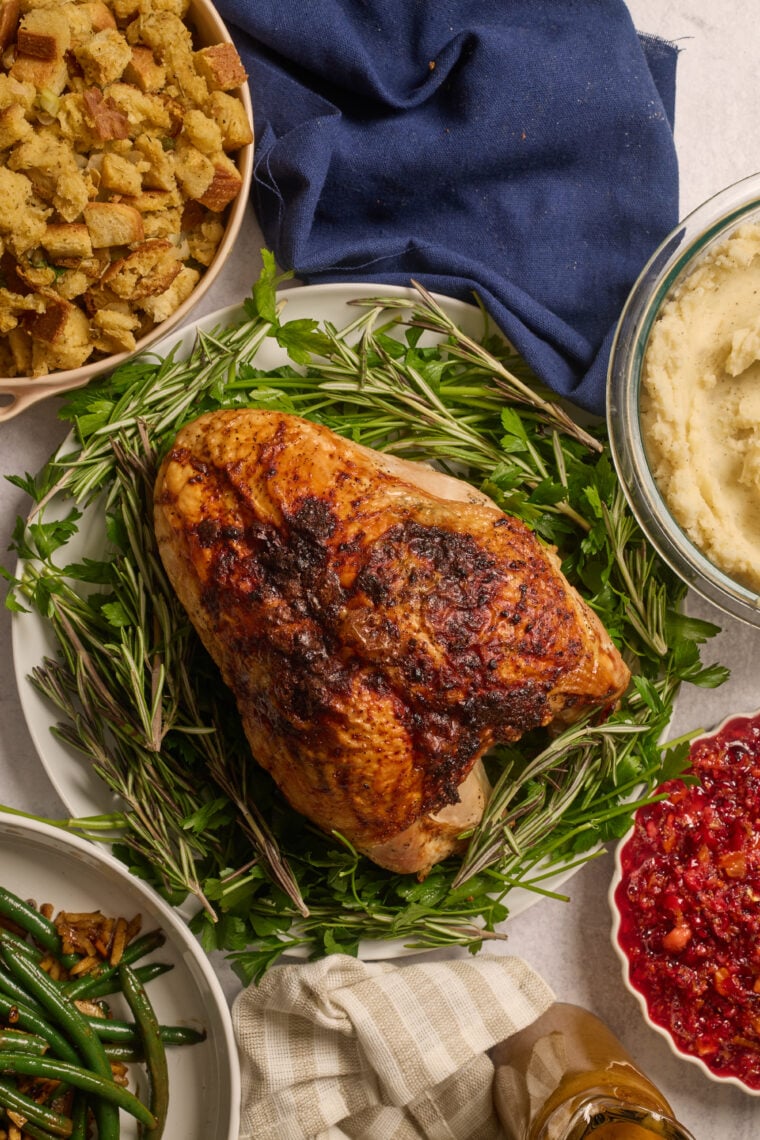
For next-level results, give your turkey or chicken a drying window in the fridge—uncovered — for up to 24 hours. This step alone can make the difference between limp and legendary skin.
Use a neutral oil like canola or avocado to tolerate the high heat, and finish with a bit of butter or herb butter for flavor. Add lemon zest, bay leaves, or cracked black pepper to the cavity or pan drippings for an aromatic boost that complements the crisp skin beautifully.
If you’re worried about cleanup, line the bottom of the roasting pan with foil and add a bit of chicken broth or turkey stock to catch drips—those pan drippings make the best gravy!
How to Get Perfectly Crispy Skin Every Time: The Science of Golden, Crackling Perfection
Crispy skin isn’t just a holiday luxury – it’s a year-round skill every cook can master. Whether you’re roasting a whole turkey for Thanksgiving dinner or just perfecting your weeknight chicken, these simple steps deliver shatteringly crisp, golden-brown skin every time. Start dry, give it air, and embrace the heat.
Once you hear that unmistakable crackle and see your turkey glisten under the kitchen lights, you’ll know you’ve nailed it – crispy skin made the right way.
The Perfect Holiday Bird
To get the perfect holiday bird, check out these helpful guides:
- Turkey Internal Temperature at a Glance
- Turkey Thawing Timelines by Weight
- Dry Brine Timeline Step-by-Step Guide